Hello hello hello!
Last time I posted I’d just had a go at screen printing for the first time.
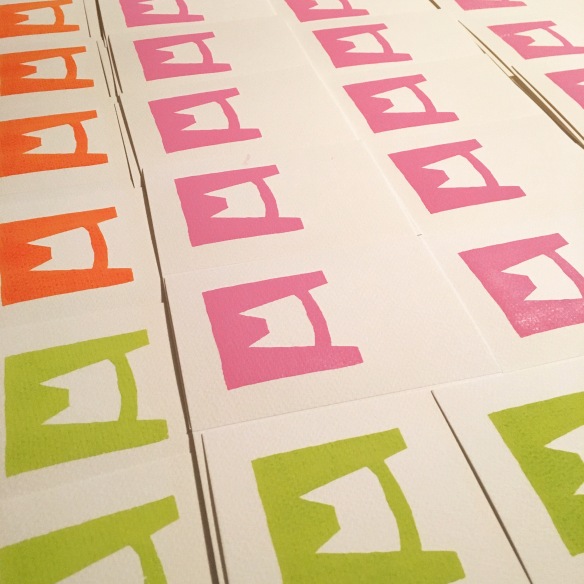
Since then I invested in a higher mesh count screen and had another go, this time printing on to gorgeous Bockingford watercolour cardstock.
I made a new screen, once again hand painting the images with drawing fluid onto the screen with a fine brush:

…and this time managed to coat the screen with filler in just one pass, yay!
I mixed some yummy coloured inks – for this first run I decided to pink, lime green, orange and blue:

A great tip I picked up somewhere on the internet was to mix ink on a sheet of glass over white paper. There’s something very satisfying about slowly folding the colours together with a palette knife, all gloopy and shiny!
I had to trap myself in the house with a pasting table to lay out the prints to dry – it’s a good job no-one knocked on the door as I wouldn’t have been able to answer it!

Once I’d printed the colours, I moved on to the black – slightly nerve racking as I had to get the registraion right or I’d mess them all up! I printed the first black image onto tracking paper taped at one edge to the base of the screen unit, positioned one of the coloured prints under it and marked the edges as a guide. And off I went!
On a scale of one to ten in squeeness, lifting the screen to reveal the first card in all it’s glory hit about 999!

I might have squeaked aloud and bounced around the room a bit!
Here are finished cards in the four colours I chose (thank you everyone on Facebook, Twitter and Instagram for your colour suggestions!) – each card comes with an envelope in stupidcats orange (another thank you to Facebook folks – particularly Etsy Resolution group members – for their feedback on envelope colour!), and they’re available singley, in a pack of four (one of each colour), or in pairs of various colours:

My technique has definitely improved – this time I didn’t once flood the back of the screen (yay!) and found that perfect angle to draw the squeegee over the screen when pulling prints (most of the time…!).
As a finishing touch, I hand stamp my logo on the back of each card:

I’ve also introduced a new set of badges – four little pin badges to match the cards (big thanks to Peter at John E Wright in Nottingham for being so patient making sure the output colours match the cards as closely as possible, despite intermittent power cuts!). Each badge is hand pressed on my dinky badge press and assembled by hand.

I decided to retire my Badgebook theme, as it they just take too long to assemble (I might bring them back if I find a quicker way), so I’ve repackaged my other badges to match these new ones:


Cards and badges are available from my Etsy store, and ship worldwide, hurrah!
I’m sooooo chuffed to finally be able to print my own cards!
Next I need to try printing onto fabric so I can make tote bags. I’ve hand-painted a sample bag to get an idea of size and positioning, what do you think?

Spot the black blob where I dropped the brush! The next step will be to hand paint a screen and try printing some.
These bags will initially be available in orange, pink, blue and lime green, hand printed in two colours – watch this space! 😸
Ooooh, ps! In my last post I told you about Cobden Place, and their Kickstarter campaign to raise £8,000 to start a School of Print in Nottingham. Well, they not only hit their target, but also made their stretch-goal of £10,000! How brilliant is that? I upped my pledge at the last minute, and am so excited about attending a screen-printing workshop there later this year, with Tom Camp who used to be the print technician for none other than Rob Ryan! 😸

